Cane Builder Monthly Publication

Every day I'm coming up with new cane patterns and canework innovations. Take an exclusive look at all the innovations coming out of Polymer Clay Workshop before they can be found anywhere else! $5 per month through Paypal. Cancel any time.
Showing posts with label Coloring Pages and Patterns. Show all posts

Tuesday, January 22, 2013

Printable Valentine coloring pages for Scrapbook paper cards


Do you ever see a sheet of beautiful scrapbook paper that you had to have, but you just didn’t know how to use it?  Or maybe you thought you had a plan, but it didn’t quite seem to work out that way?  

These interchangeable paper-puzzle cards are the perfect way to use any extra sheets you have lying around.  Or treat your self to a trip to the paper store and know that you can make lots of beautiful cards for a dollar or two without wasting hardly any paper.

I can’t tell you how peaceful and therapeutic it is for me to arrange all these gorgeous papers!

Step 1: Print out the pattern of the whole card on card stock.  This can be colored or   
             painted as is.  These are great for kids to use as coloring projects.

Step 2: Print out multiple copies of the design on different papers of you choice. For  
             each design, 3 colors will create 3 cards.  5 colors will result in 5 cards etc. 

Step 3: Cut out all the pieces with scissors, an exacto knife, or any cutting tool of your    
             choice.  Do your best to slice right through the black line.

Step 4:  Mix and match all the pieces and put them together again on the original card.  
             I find that glue stick  works well.

Tips:
Use contrasting colors and textures (light and dark, smooth and textured)
If you don’t want the black lines to show, use the reverse pattern and print it on the back of the paper. This can get confusing!  Think it though ahead of time.  I often mess this up!
If your paper won’t go though the printer, just print out the pattern on plain paper and glue or spray mount it to the back.  Again, make sure you print the reverse patten!!!
Sometimes you DO want dark black lines to bring out the pattern, or make it look like stained glass.  In this case, you can re-enforce the lines with permanent marker or 3D paint!


Better than stickers for scrapbook embellishments!  Check out this post about how to build slice-and- bake valentine canes. (or buy pre-made from my etsy shop)


Monday, November 26, 2012

Friday, October 5, 2012

Paper Castle printable art project for preschool, kindergarden and up

Be sure to check out my other preschool and kinder projects as well as my kids clay ebook!


I printed out these pages on yellow and red card stock and cut out the pieces ahead of time.  I had the students glue the pieces on paper and then add their own details and adventures.  I was blown away when the students started building them in 3D and adding moving parts!  I was so proud.  I found my self singing "it's only a paper moon, sailing over a cardboard sea, but it wouldn't be make believe if you believe in me!"

Monday, September 24, 2012

Design your dream bedroom anti coloring page

This week the students are going to design their dream bedroom.  I've done and image search and printed out some amazing bedrooms as inspiration.  Check these out!
The students can use this template or design their own on a blank sheet of paper.  


Printable mustache cutout pattern for student art critiques

In order to teach art standards, I like to pull concepts right out of the students' work.  The students share their work in front of the class.  During our discussions, the students are learning to use fine art vocabulary about elements of design etc.

Well, in order to make this process even more fun, I showed them pictures of Salvador Dali and his mustache.  I printed this template out and placed it over several pieces of black card stock and cut them all though at once.  I handed the mustaches to the students to wear during our art critique.  I gave them little pieces of tape, but next time I would use dowels so the students could simply hold them up.  You would never imagine how excited the students were to have these paper mustaches.  It was so much fun!


Tuesday, May 8, 2012

Make your own board game into a box!

Game board boxes available here.


My polymer clay students have been designing their own board games!  I'm so proud of their creativity!  I was looking for rigid set up boxes for the game boards and I couldn't find anything anywhere.  At first, I found an old puzzle box and covered it with paper.  This works great.  However, all of a sudden I though of a BETTER idea.  Why not just make the game board the box?  Unfortunately, I couldn't make one of these for each student, but I hope it's an inspiration to you.

Monday, April 23, 2012

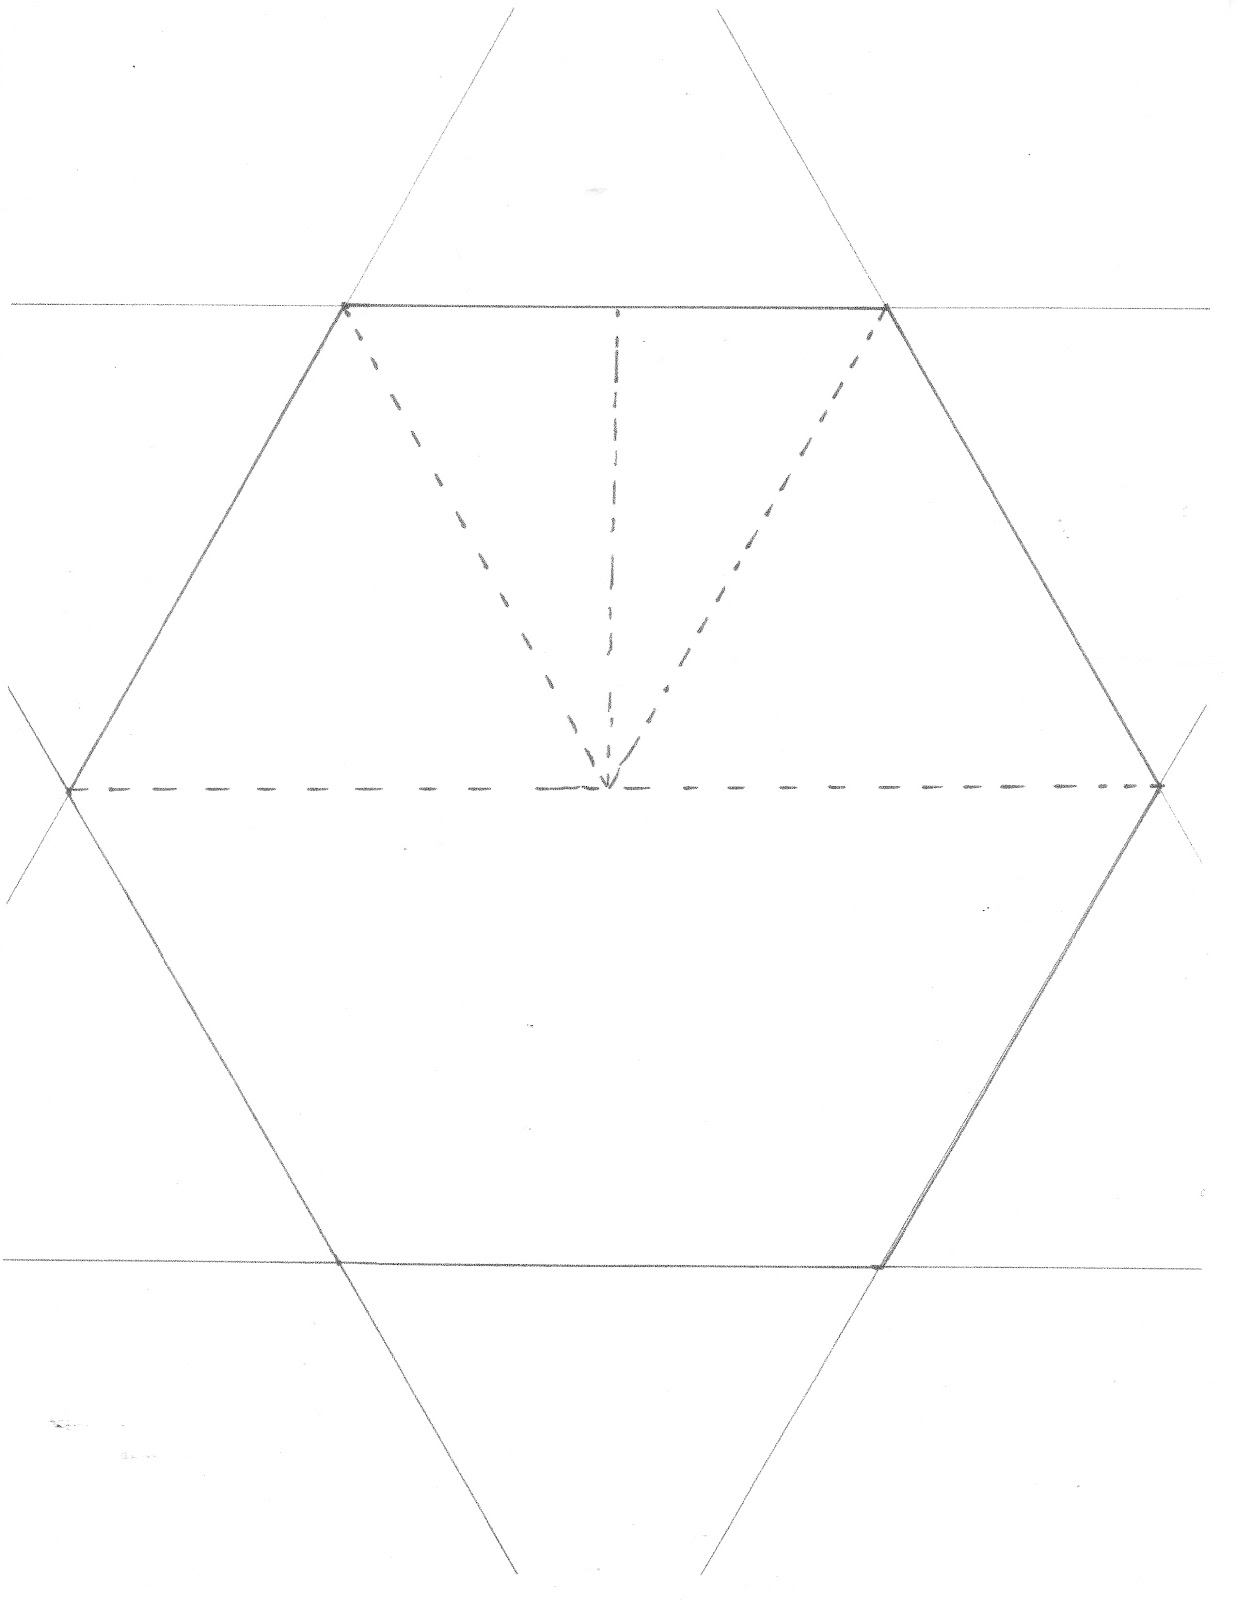
Design you own fractal art coloring page

While I was developing a new technique to make fractal patterns out of clay, I decided to come up with some basic templates.  I brought these templates to my elementary school students, and they came up with some beautiful designs.  According to my motto: freedom within structure,  the students thrived realizing that complex designs can be built from simple shapes.  I handed out the square template made of repeating triangles, and told them to create a very simple design in one of the triangles.  Then I asked them to repeat the patten in each of the triangles until they got too small.


Thursday, January 27, 2011

Simple, Printable Pop-up Valentine Card


Also check out my post on spiral Valentine boxes!
And Slice and bake cane tutorial! These are better than stickers to embellish your cards.


Tuesday, January 18, 2011

Printable Valentine Coloring Page


Friday, December 3, 2010

Design Your Own Snowflake: Printable Template

For a simpler printout, go to my post about intricate snowflakes.


I've spent the day designing snowflakes for a papercraft project that I have in mind.  These circles were a great starting point.  I printed off the template at a very low density, and then drew my snowflake designs with darker lines over the top.  Eventually I will trace these lines with a thin sharpie, and erase the lines I don't want.  If you don't want to deal with the extra lines, just place this print out under the paper on a light box or window.  I'm sure there's a much easier way to do this on the computer.  I'm certainly open to ideas, but for now, this has worked really well for me.  I could spend hours making up new intricate patterns!  For inspiration, I've been looking at photographs of real snowflakes!  For a simpler print out and ideas, see my earlier post about drawing intricate snowflakes.

This lesson goes very well with one of my favorite seasonal crafts. Snowflake ornaments!

Friday, November 6, 2009

Preschool Mushroom Lesson


This week I started preschool lessons again. I really hope I get a lot of students. For my first lesson I read Mushroom in the Rain by Mirra Ginsburg. I forgot my giant mushroom (a brightly colored blanket), but had I brought it we would have played out the story of the animals hiding under the mushroom by hiding under the blanket. Before class I cut out and colored stems and mushroom "hats" to match. Then I separated them and taped them (with painter's tape) on the walls all over the room. I asked individual students to go find and match the mushrooms. Then we stuck them to a large paper that I had taped to the wall by the story circle. Together we added grass, rocks, rain etc. This served as a mural size example of the project they each worked on. Then I gave them each the parts of a blank mushroom that I had cut from this pattern. The students colored them with gel sticks and then glued them to a piece of paper. We also made fimo mushrooms. Even little ones can do well with this as long as you portion out the amount of clay and help them one step at a time. These mushrooms are special because they glow in the dark!

Thursday, May 21, 2009

Hot Air Balloon Coloring Page


Yikes! That last post was quite ambitious! Here's a simple was to introduce the same fundamental concept. Have the students decide what time of day it is and where the light is coming from. Draw their attention to where the light would hit each section of the air balloon. There are absolutely beautiful books at the library with pictures that would show this. The students can practice shading with any medium. They can go light to dark or even add light yellow for sunlight and bluish for shadows. You could tell them that a popular professional technique is to color the balloons in solid with marker and the add highlights and shadows on top with colored pencil, chalk, crayon, etc. Younger children can just color it alongside older siblings. I have another lesson in which the students do the whole thing themselves, but by the time they design their balloons, they have little patience to learn about shading. I'll post that lesson soon. So, now I have to come up with a painting project for my oldest student (87) by tomorrow. We have a blast when I have a good project...

Tuesday, May 19, 2009

Oaxacan Painted Lizard Lesson


The best part of this project is the bumpy texture you feel when you pet the lizard! This is thick acrylic paint on card stock, applied with a blunt tooth pick or small dowel. Puff paint works well, especially on mat board, but younger students have a hard time making even dots. Of course, even if the colors get crazy and inconsistent, the lizard still looks cool. To do a good job takes a long time, but encourage your child that it's worth the effort. If you use card stock, you should be able to run it through the copier to save time. If you use mat board, you or the students will have to trace a stencil first. The students can always create their own creatures, but I've found this to be a good intro project. There's plenty of work to do in the decorating. This pattern can be used with very young students. It can be covered with colors using any technique and then cut out. An adult will have to do it, this one's hard to cut! When the colorful lizard is glued to black paper, it really stands out.

Monday, May 18, 2009

Preschool Penguin Project

Check out these clay penguins to go along with this lesson!


Starting June 1st, I'll be teaching Preschool art again at Trinity. It was so much fun last year! Here is the lesson I've been working on this morning. I'll read Playful Little Penguins by Tony Mitton. I'll probably bring in some tool or white sheets for the little ones to imagine snow and ice. It will take quite the imagination in 100 degree weather! I print this sheet off on card stock and cut it out ahead of time. The students glue the pieces and add feet, eyes and a beak. It seems simple, but students have added all kinds of stories and details to their projects. Print out this page and you'll have an instant project. Snow could be made out of many different things. Here I used chalk on blue paper. As a follow up, I may encourage them to draw the penguins from scratch. Moving from step to step like that is good scaffolding.